Threater Reporting: Look Like a Cybersecurity Expert to Your Team!

“Hey there! We have a meeting in an hour, can you give the team a quick update on how well the Threater is protecting us?”
We’ve all been there. You’ve invested heavily in a strong, defense-in-depth security stack. You’ve double checked your regulatory compliance checklist and cross-checked it with your security posture policy. If you needed to, you could log into your SIEM and various management tools to investigate and dissect the traffic and what is happening on your network, BUT!…you have 60 minutes until you have to brief the boss and team…and that’s not nearly enough time to do a deep dive through log files and create spreadsheets and graphs!
You need to look like a Rock Star at this team briefing.
Threater analytics and reporting to the rescue! In addition to satisfying compliance regulations for logging, IT teams can immediately access comprehensive, easy to use, intuitive graphics, analytics, and reporting via the Threater Management portal.
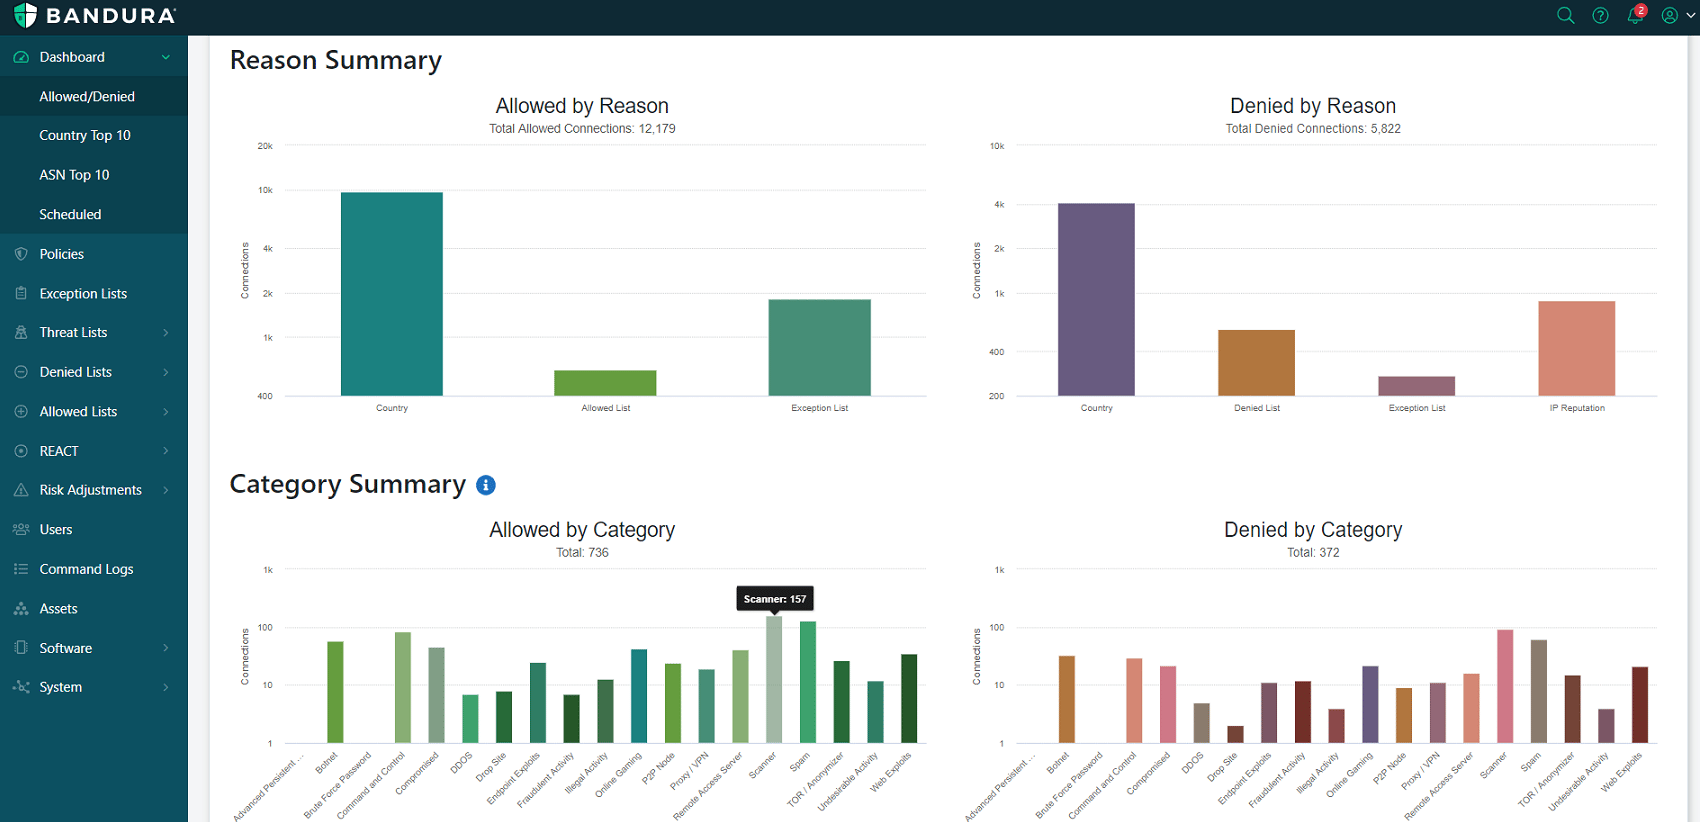
The Threater Management portal dashboard summarizes malicious activity and the actions taken, and present them beautifully, utilizing graphics and charts that provide the need-to-know snapshot of the malicious activity that is being blocked at your perimeter…in short, making you look like a Rock Star!
“Tell you how to do it?” You say? It’s quite simple. Let’s take a look how!
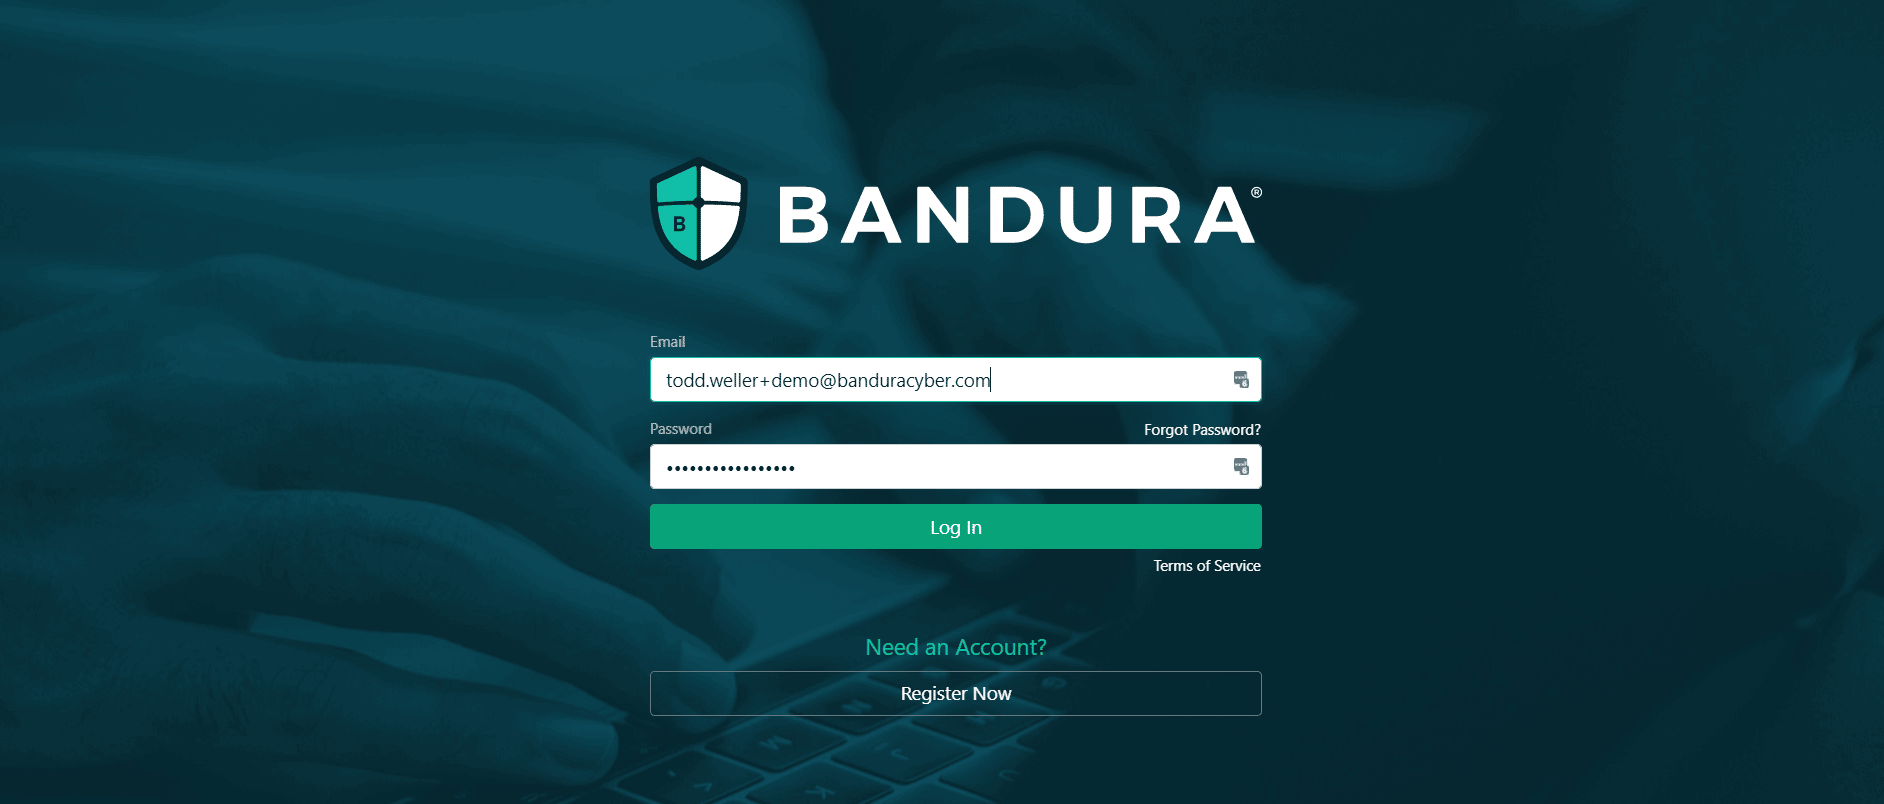
To Access the Threater Management portal, connect your browser to admin.threater.com and log-in using your credentials:
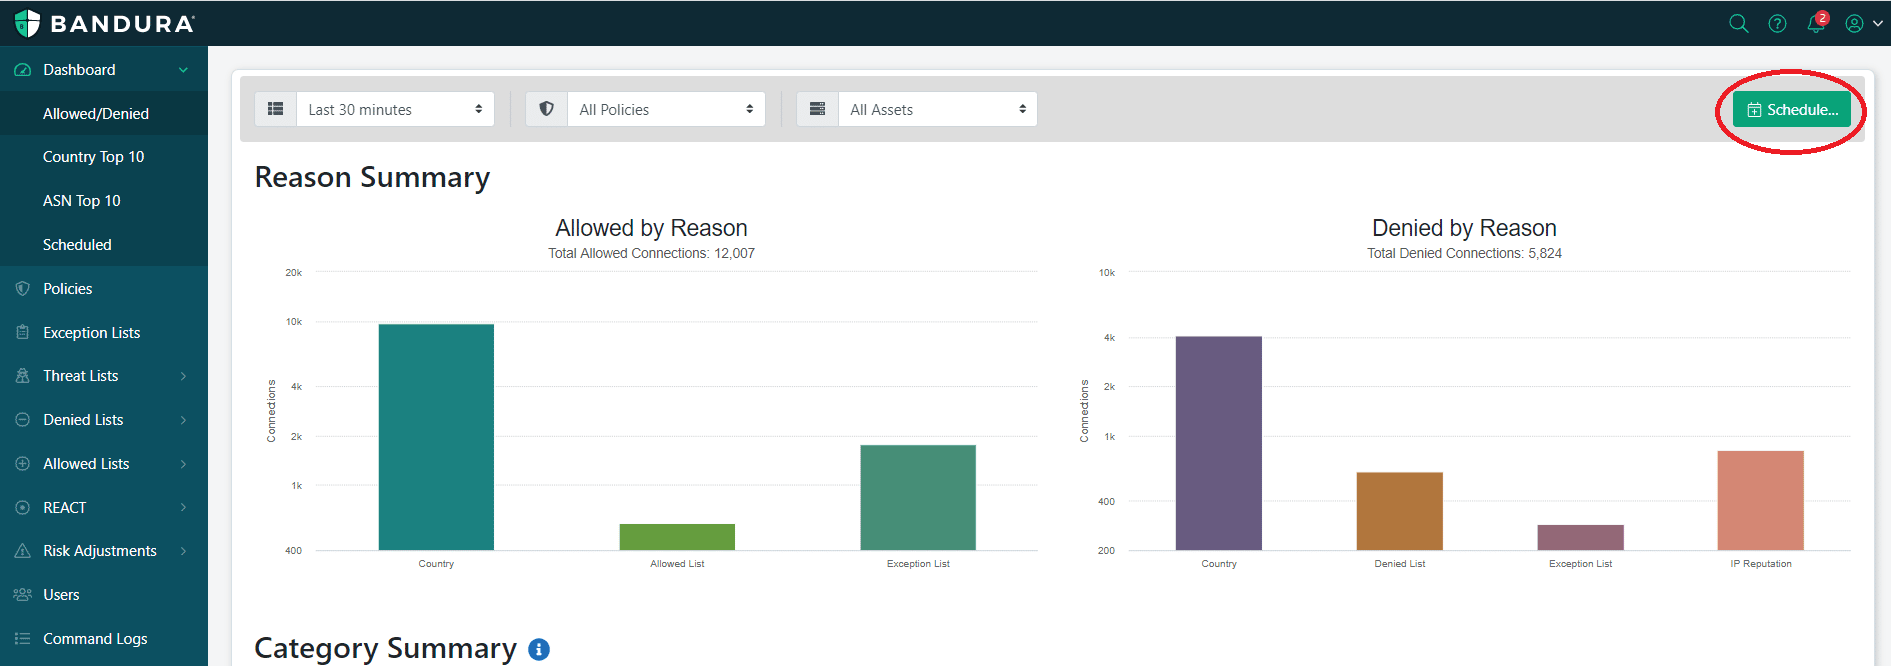
From here, you access the “Scheduled Reports” home page. On this home page, you can schedule and run reports based on the traffic you would like to see, based on easy-to-use, predefined reports.
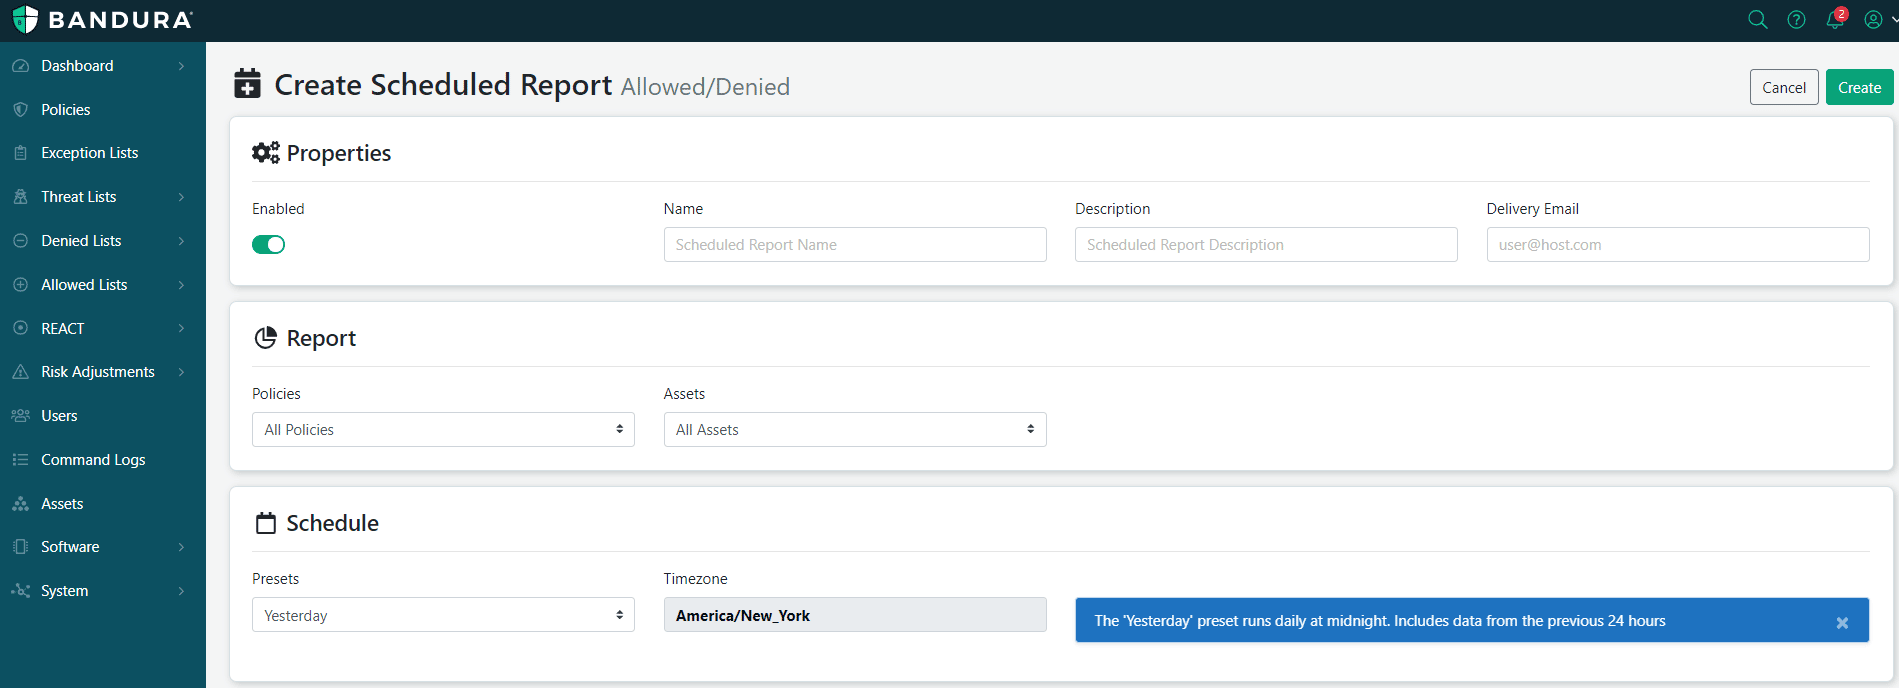
From this screen, you can simply choose the menu options to run our reports:
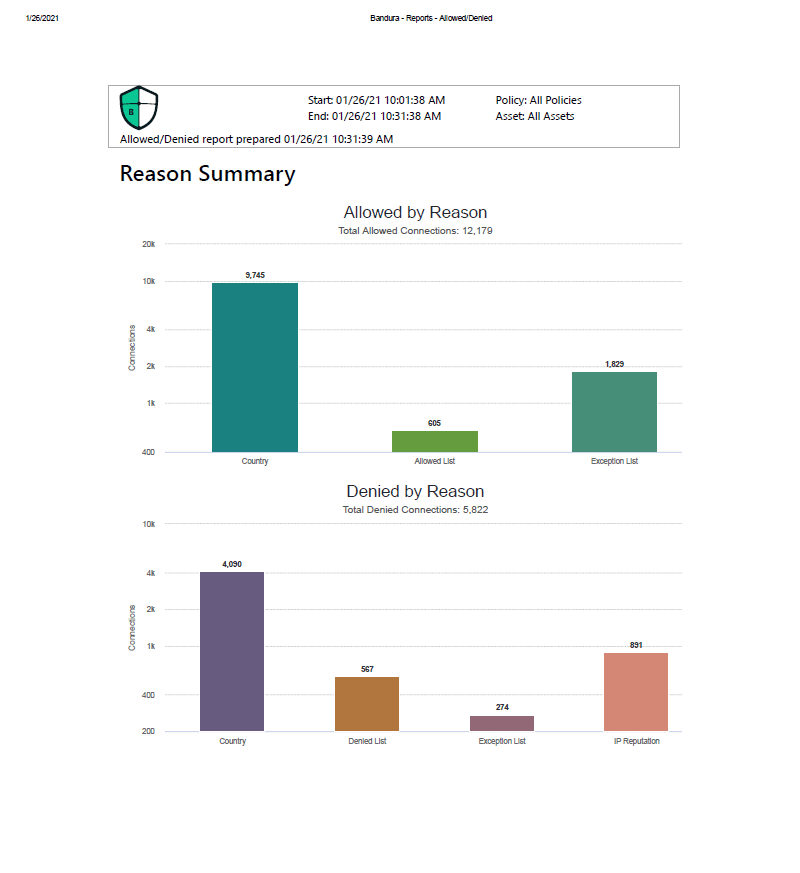
That’s it! You’ve run your report. Now you can access the report from your inbox, print it out, just in time to casually walk to your meeting (without breaking a sweat or being out-of-breath), and impress everyone with your powerful reporting skills! It’s that easy, and you are now a total Cyber Security Rock Star!
(That is, until they figure out how to access the features too. Remember! Log-in->Dashboard->Schedule icon->Fill out/choose drop down options->Click Create!)
For more information about Threater, visit threater.com
To speak to a member of our sales team: sales@threater.com